
Homeowner How To: DIY ...Do's and Don'ts
 If you are like me, you’re a bit handy and have the urge to give your cool looking screwgun a whirl and try your hand at DIY projects around your home. So here is a handy list of Do’s and Don’ts to keep in mind. I’ve learned some of these the hard way, of course, bitten off more than I could handle a few times over the years, so I figure I should pass along my hard earned knowledge.
Don’t #1: Attempt difficult sheetrock and spackle repair work
Leave this to the pros. Oh man… not only have I seen some pretty terrible attempts at sheetrock installation, patching, fixing holes or replacing bubbled up tape and spackle, but I have learned this lesson the hard way. Spackling correctly is much harder than it appears and doing this incorrectly will make the problem worse.. Save your time and frustration and hire a pro for this. Your walls will look just lovely and you can move right along to Do#1 if you have the ambition.
Do #1: Try your hand at painting
 If you have never done this, you may want to try tackling a smaller project or room first. There are a few pointers on this one, but even if you are new to the roller and brush, you can probably make a pretty good go of it and pull it off. Make sure all the wall prep (see don’t #1) is complete. Caulk is your best friend! Use it to fill in any gaps between moldings and the walls. It will give you that perfect finished look when the paint is applied. Use a damp cloth to wipe away any excess. Let the caulk dry at least 6 hours before painting. Always paint your ceiling first, your trim next and your walls last. Instinct is always to just go at those walls first…but believe me it’s the icing on the cake, so unless you want to have to re-paint the walls again after you finish up the ceiling, work on getting the “foundation” done first and let those dry before you begin on those walls. Always paint every surface with two full coats, allowing the paint to dry a bit before going around for the second time. If you are not so confident about cutting in those corners and moldings, allow those to dry at least 24 hours and carefully tape those off first before starting the wall color. If you get in over your head, you can always call a good painter to come in and fix it all up for you.
Don’t#2: Don’t mess with electrical stuff
If there is one thing I’ve learned for certain it is this. Just don’t do it. It’s not worth the risk to yourself, your family or your home if you do something wrong. You (or your handy uncle) could get electrocuted or burn your house down, so just hire a pro. A good licensed and insured electrician is truly worth it. Not only can they steer your fixture and location choices in the right direction to make sure you are getting the end result you want, you also will rest assured that all the work is done is correctly and to code.
Do#2: Try your hand at home décor
Why not? Give it a go… you can get some great ideas from design blogs and websites like Pinterest where you can collect great ideas, layout concepts and accessory ideas for your home. Try to visualize your home with simple upgrades, wall art, light fixtures, mirrors, paint finishes, pillows and throw rugs. You can find some really cool and unique items in antique shops or on websites that offer handmade products like Etsy. A great low cost idea for artwork is to use your own family photos and get them blown up into large canvas wrapped pieces. It’s easy to do (order online), personalized and ships right to your door. Do always invest in decent picture hangers from the local hardware store or you may wind up with broken frames or damaged art.
Don’t#3: Design your new kitchen
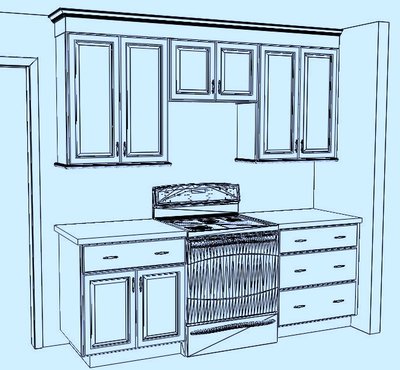 Why? Well, this is one of the most costly rooms in your home to renovate. I have personally seen these projects go terribly and be such a waste of money. So unless you want to throw good money after bad and have a miserable time during the process, rely on a professional kitchen and bath or interior designer who will walk you a variety of floor plan options and possibilities, help you navigate the extensive selection process and make sure you are getting the best use of your space and money, as well as adding value to your home.
Do#3: Refinish or paint old furniture to give it a new look.
This can be so satisfying. There is very little risk because it’s relatively inexpensive, can make a bold statement in your home, is something you can be proud of and you can always change the color or re-paint it if you so choose. You can look for great paint color ideas on the internet and give your room a snazzy boost. Check out this step by step article on refinishing furniture.
Have fun! Get creative and enjoy your DIY room makeovers and home projects.
It’s inspiring to give your home a new look and the end result will be something you can enjoy every day. If you just can’t decide, you can always call in a decorator or interior designer to help steer you in the right direction, of course, but there is no harm in a giving a few fun DIY projects a try.